Thinking About Moving from Wix to WordPress?
You’re not alone!
Many people start with Wix because it’s simple and easy to set up, but as their websites grow, they often find themselves wanting more options.
WordPress is the next step up—it offers endless flexibility, complete control, and the kind of scalability that helps your site grow right along with you.
Switching platforms might sound intimidating, but don’t worry! This guide will walk you through every step of moving from Wix to WordPress in a way that’s straightforward and stress-free.
We will cover everything you need to know to get your site looking and working just the way you want on WordPress.
Why Switch from Wix to WordPress?
If you are using Wix, you have probably enjoyed its simplicity and ease of use. But as your website grows, you might be starting to notice its limitations. Let’s break down a few of these, along with the benefits you would gain by moving any CMS to WordPress.
Limitations of Wix
- Limited Customization and Fewer Plugins: Wix has a basic drag-and-drop editor, which is great when you are starting out. But it doesn’t allow you to dive deep into customizations. You are limited to the features Wix provides, and its small app marketplace means you don’t have as many plugin options for adding custom features.
- Restricted SEO Tools and Fewer Design Options: While Wix includes some SEO tools, they’re fairly basic and don’t provide the depth that many growing websites need. Additionally, design options are somewhat restricted, and moving elements around or adding complex layouts can feel clunky.
Benefits of WordPress
- More Control Over Site Design, Plugins, and HostingWith WordPress, the control is in your hands. Want a unique layout? WordPress themes and WordPress page builders make that possible. Need a specific feature? WordPress has thousands of plugins to choose from, covering everything from e-commerce to social media integration. Plus, you can choose your own WordPress hosting provider, giving you flexibility over your site’s speed and reliability.
- Scalability for Future Growth
WordPress grows with you. Whether you’re looking to add a blog, start an online store, or even build a membership site, WordPress can handle it all. For expanding businesses or websites with evolving needs, this flexibility is a huge plus. - Open-Source Flexibility for Deep Customization
Since WordPress is open-source, you can tweak and customize nearly every aspect of your site if you wish. You have access to the code, so if you ever want to make unique changes or even work with a developer, WordPress allows for this kind of deep customization that Wix simply doesn’t offer.
Switching to WordPress opens up a world of possibilities, allowing you to fully tailor your site to your needs now and in the future.
From theme selection to plugin setup, cmsMinds can help you design a WordPress site that’s built for growth.
Key Preparations Before Migration
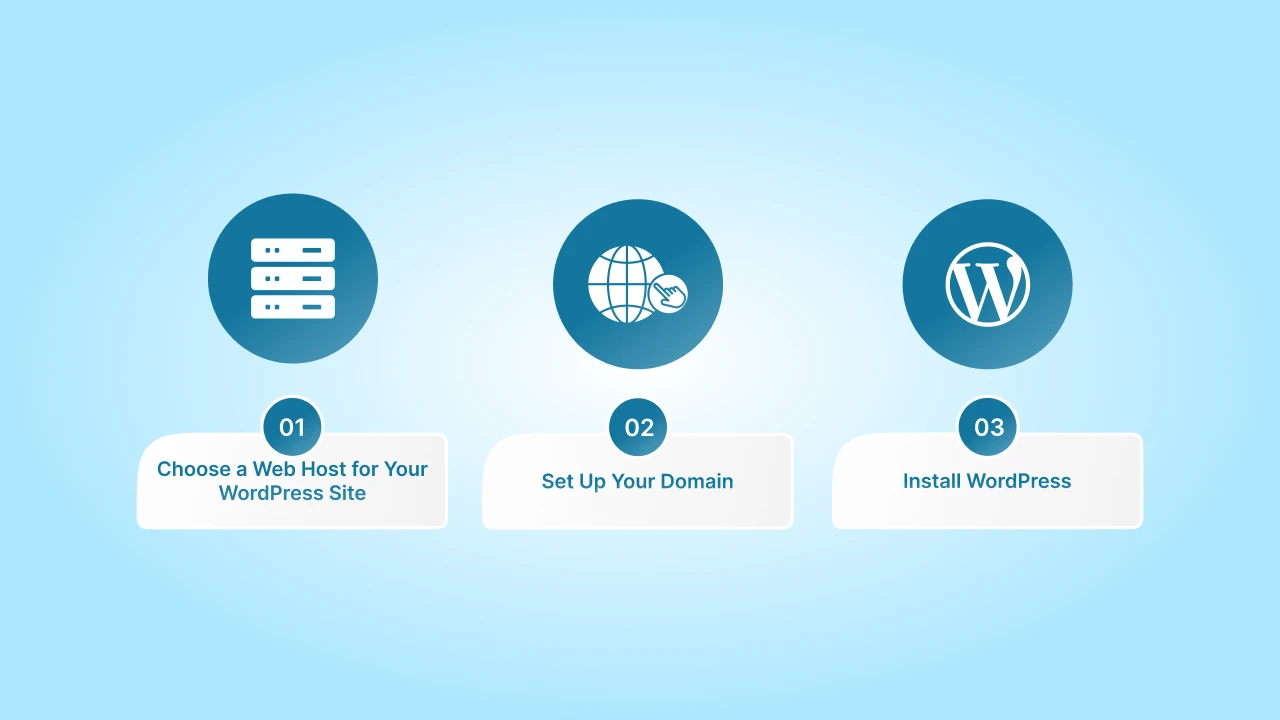
Before starting the migration process, it is essential to prepare a CMS migration checklist to ensure a smooth transition. Think of this as setting up your toolkit to ensure the switch from Wix to WordPress migration process goes smoothly and without any hiccups. Here are the key steps to prepare:
1. Choose a Web Host for Your WordPress Site
Unlike Wix, where hosting is built in, WordPress.org requires you to choose a hosting provider. Your host is essentially where your website will “live,” so it’s worth picking one that’s reliable, fast, and suited to your needs. Here are a few popular options:
- Hostinger: Known for affordability and beginner-friendly tools.
- WP Engine: A solid choice for businesses looking for premium support and performance.
- Bluehost: A favorite among WordPress users, with good support and competitive pricing.
Take a bit of time to research hosting providers and choose the one that fits your budget and goals.
2. Set Up Your Domain
Your domain is your website’s address (like www.yoursite.com). If you already have a domain with Wix, you can transfer it to your new hosting provider. Most hosts offer domain transfer services, and the process is straightforward. If you are starting fresh, you can register a new domain through your hosting provider as well.
3. Install WordPress
Once you have picked your hosting provider and sorted out your domain, it’s time to install WordPress. The good news? Most hosting providers make this super easy. Here’s how:
- Log in to your hosting dashboard.
- Look for a “one-click WordPress install” option (most providers offer this).
- Follow the prompts to set up your WordPress site.
Once installed, you will have access to your WordPress dashboard, where you can start building your new website. At this point, you’re all set with the basics, and we’re ready to move on to the actual content migration!
Content Migration Options
Now that your WordPress setup is ready, it’s time to move your content from Wix to WordPress. Since Wix and WordPress store content differently, there are a couple of ways to go about this. Let’s look at the main options and decide which one is right for you.
Understanding Content Differences
Before we dive into migration methods, it’s good to know that some elements from your Wix site, like styling and certain interactive features, may not transfer over exactly as they are. Don’t worry—WordPress has tons of options to help you recreate and even improve upon your original site design. For now, let’s focus on getting your core content (text, images, and links) over to your new site.
1: Using a Migration Plugin
If you are looking for a quick and efficient way to migrate content, a migration plugin can help automate the process. Plugins like CMS2CMS are designed to transfer content, saving you time on copy-pasting.
Here’s how to use a migration plugin:
- Install the Plugin: Go to your WordPress dashboard, select “Plugins” > “Add New,” and search for the migration plugin.
- Set Up and Connect: Follow the plugin’s setup steps, which may include creating an account and connecting it to your Wix site.
- Start the Migration: Use the plugin’s dashboard to select what content you want to migrate (pages, blog posts, images) and start the migration.
Pros and Cons: Using a plugin is fast and reduces manual work. However, some plugins may require a small fee, and you might still need to make small adjustments after the migration, like checking links and tweaking layouts.
2: Manual Migration
If you have a smaller site or want to maintain full control over what gets moved, a manual migration could be a good option. This process involves transferring content piece by piece, so it’s more time-consuming but gives you control over every detail.
Here’s a simple guide to manually migrate your content:
- Blog Posts and Pages: Copy the text from each Wix page and paste it into new WordPress pages or posts. WordPress’s editor makes it easy to format text, add headings, and embed images.
- Images and Media: Save images from Wix to your computer, then upload them to WordPress using the “Media” section in the dashboard.
- Links and URLs: Make sure to update any links or buttons, especially if you have changed your site structure.
Pros and Cons: The manual route can be time-consuming, but it’s budget-friendly and allows you to carefully check each page as you go. For smaller websites, this is often manageable, but for larger sites, a plugin may save you time. However, if manual migration isn’t your cup of tea, then you can always take the help of a WordPress migration service provider or WordPress migration agency.
Pro Tip: Once you have moved over your main content, take a moment to review everything on your new WordPress site. This is a great time to click around, check formatting, and make sure everything has been transferred smoothly. Now that your content is in place, we can move on to designing and fine-tuning your new WordPress site!
Rebuilding Your Website on WordPress
With your content safely migrated, it’s time to rebuild your website design and functionality on WordPress. This step is where you can get creative and make improvements, adding features that may not have been possible on Wix. Here’s how to get started.
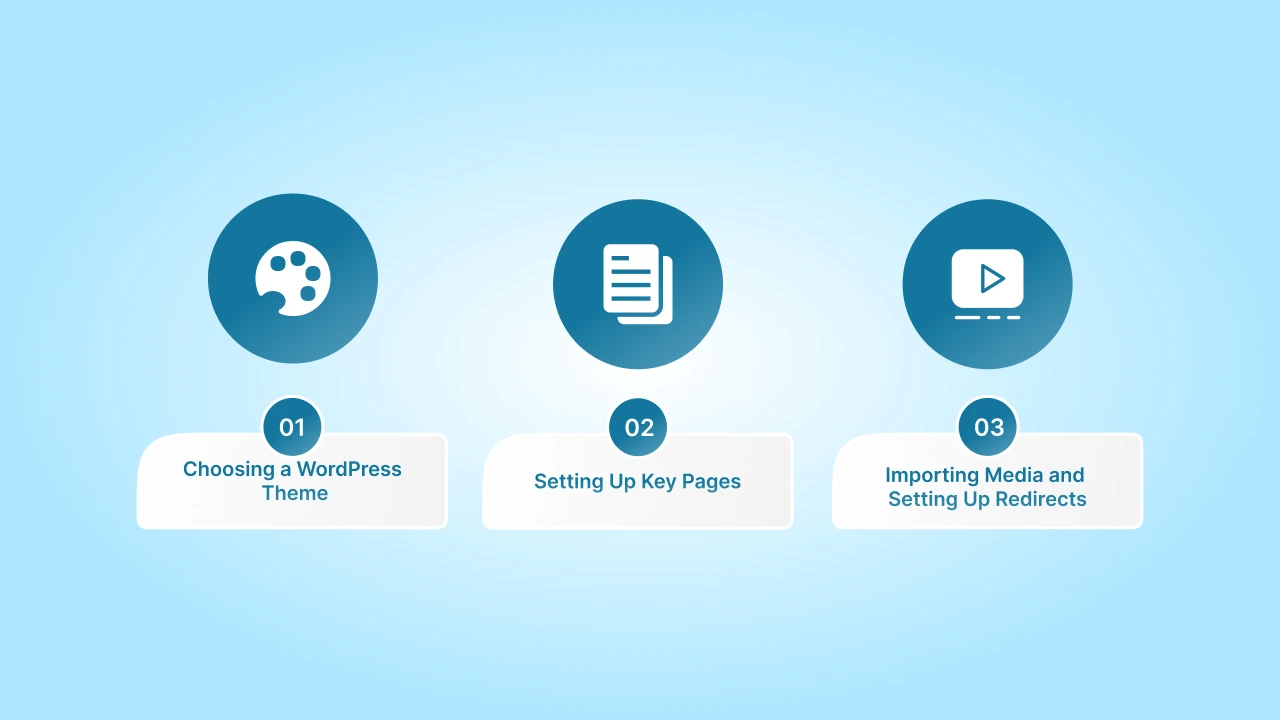
1. Choosing a WordPress Theme
Your theme determines the look and feel of your site, so it’s worth spending a bit of time finding one that suits your style and needs. WordPress offers thousands of free and premium themes that you can browse by going to “Appearance” > “Themes” in your dashboard. Some popular options include:
- Astra: A fast, customizable theme perfect for blogs and small business sites.
- Divi: A flexible, drag-and-drop theme with a lot of design options.
- Elementor: Technically a page builder rather than a theme, but it allows you to design pages from scratch with easy drag-and-drop functionality.
Once you have selected a theme, activate it and preview how your migrated content looks. You can always change themes later, so don’t worry if you want to experiment with a few options before settling on one.
2. Setting Up Key Pages
Now that your theme is in place, it’s time to recreate essential pages, like your Home, About, Contact, and Blog pages. Here’s a quick guide for each:
- Home Page: Use your theme’s customization options or a page builder plugin like Elementor to recreate your homepage layout. This is where you can add calls-to-action, featured images, and any custom sections you had on Wix.
- About Page: Add your about section, contact info, and other details about your business or blog.
- Contact Page: Use a WordPress form plugin like Contact Form 7 or WPForms to create a simple, customizable contact form for visitors to reach you.
- Blog Page: Set up your blog page to display your posts in the desired layout. WordPress gives you control over post-display options, so you can choose between grids, lists, or featured images with excerpts.
If you are using a page builder, you can customize these pages extensively, adding columns, buttons, and images to replicate or improve upon your original Wix design.
3. Importing Media and Setting Up Redirects
- Media: Any images or media files you saved from Wix can now be uploaded to WordPress. Go to “Media” > “Add New” and select files from your computer. Once uploaded, you can insert them into posts, pages, and galleries.
- Redirects: To avoid losing traffic and SEO value, it’s essential to set up redirects from your old Wix URLs to your new WordPress URLs. A plugin like Redirection makes this easy:
- Install and activate the Redirection plugin.
- Go to “Tools” > “Redirection” and enter each old Wix URL, along with the corresponding new WordPress URL.
- Save the redirect, and repeat for each page and post.
Redirects help maintain a seamless experience for visitors and preserve your SEO rankings, so it’s worth setting them up carefully.
Pro Tip: With your theme, pages, media, and redirects set up, you’ve successfully rebuilt your website on WordPress! This is a great moment to preview your site, check each page for consistency, and make any final design tweaks. In the next section, we’ll dive into some essential plugins that can add even more functionality to your new WordPress site.
Essential Plugins for WordPress
One of the best parts of WordPress is the vast selection of plugins available to expand your site’s functionality. From SEO tools to security features and performance boosters, plugins make it easy to add powerful new capabilities to your website. Here are some must-have plugins to consider for a smooth, high-performing WordPress site.
1. SEO Plugins
Search engine optimization (SEO) is essential for making your site discoverable. Wix offers basic SEO options, but WordPress gives you much more control. SEO plugins help optimize your site for search engines and guide you on best practices.
- Yoast SEO: Yoast is one of the most popular SEO plugins, providing on-page optimization tips, readability analysis, and XML sitemaps.
- All in One SEO: Another great option, with features for keyword optimization, meta descriptions, and more. Both plugins offer similar functionality, so try one out to see which interface you prefer.
2. Security Plugins
WordPress’s open-source nature makes it flexible but also means that security is key. A good WordPress security plugin will help protect your site from malicious activity and ensure your data is safe.
- Wordfence Security: A comprehensive security plugin that provides firewall protection, malware scanning, and login security.
- Sucuri Security: Sucuri offers similar security features and includes activity auditing and file integrity monitoring. Both plugins are excellent for keeping your site safe.
3. Performance and Caching Plugins
A fast website keeps users happy and helps with SEO. Caching plugins can drastically improve your site’s loading speed by storing parts of your site for quick access.
- WP Rocket: WP Rocket is a premium caching plugin that’s easy to set up and has powerful features like page caching, lazy loading, and database cleanup.
- W3 Total Cache: A popular free option that includes a range of caching and optimization features to improve site speed.
4. Backup Plugins
It’s always a good idea to back up your site regularly, especially when making major changes. WordPress backup plugin makes this easy and allows you to restore your site if anything goes wrong.
- UpdraftPlus: This backup plugin allows you to schedule backups, store them in the cloud, and restore your site easily if needed.
- BackupBuddy: A premium backup plugin that provides similar functionality with easy restore options and automatic backup scheduling.
5. Additional Customization Plugins
WordPress plugins can also add extra features to enhance your site’s design and functionality beyond what Wix could offer:
- Elementor: If you’re looking for even more customization, Elementor is a page builder plugin that lets you design pages with a simple drag-and-drop interface. It’s perfect for adding custom layouts and elements to your site.
- Social Sharing Plugins: Encourage visitors to share your content with plugins like Social Snap or Shareaholic, which add social sharing buttons to your posts and pages.
- Forms Plugins: If you need advanced forms, WPForms or Contact Form 7 are great options. They allow you to create contact forms, surveys, and more with easy-to-use interfaces.
Pro Tip: Once you have installed these essential plugins, take some time to explore others that might fit your specific needs. Just be mindful not to install too many, as too many plugins can slow down your site.
Post-Migration Checklist and Final Adjustments
Congratulations! You’re almost done. Now that your content, design, and essential plugins are in place, it’s time to go through a few final checks to make sure everything on your new WordPress site runs smoothly. This checklist will help you catch any loose ends and optimize your site for a polished, professional launch.
1. Review SEO Settings
Maintaining your SEO is crucial to ensure your site doesn’t lose visibility in search engines after the migration. Here’s what to check:
- Meta Tags and Descriptions: Go through each page and post to make sure titles, meta descriptions, and keywords have carried over. Plugins like Yoast SEO or All in One SEO make this easy.
- Permalinks: In WordPress, go to “Settings” > “Permalinks” and select the structure that best matches your old Wix URLs. This will help preserve your original SEO structure.
- XML Sitemap: Use your SEO plugin to generate an XML sitemap and submit it to Google Search Console. This helps search engines quickly index your new site.
2. Test Site Functionality and Design
It’s time to do a thorough review of your site to make sure everything is working as it should:
- Check All Links: Visit each page and test all internal and external links to ensure they’re pointing to the correct destinations.
- Review Formatting and Layout: Go through each page to make sure that formatting, images, and other elements are displaying properly. Pay special attention to any custom layouts or embedded media.
- Mobile Responsiveness: Use WordPress’s preview mode or tools like Google’s Mobile-Friendly Test to check how your site looks on mobile devices. Ensure that images, menus, and buttons are mobile-friendly.
3. Optimize Site Speed
A fast site is essential for a good user experience and SEO. Here’s how to make sure your new WordPress site loads quickly:
- Image Optimization: Compress images using plugins like Smush or ShortPixel to reduce file size without sacrificing quality.
- Caching: If you haven’t already, make sure your caching plugin (like WP Rocket or W3 Total Cache) is configured correctly for maximum performance.
- Speed Testing: Use tools like Google PageSpeed Insights or GTmetrix to analyze your site’s speed. These tools provide suggestions to help you fine-tune performance.
4. Set Up Google Analytics and Search Console
Tracking your website’s traffic and performance is important for future growth. Here’s how to set up these tools:
- Google Analytics: Sign up for Google Analytics, create a property for your website, and add the tracking code to your WordPress site. The Site Kit plugin by Google can help you integrate Google Analytics without needing to paste any code.
- Google Search Console: Add your new WordPress site to Google Search Console, submit your XML sitemap, and verify ownership. This tool will help you monitor your site’s search performance and detect any issues.
5. Announce Your New Site WordPress migration
Let your audience know about your fresh, newly designed site on WordPress! Here are a few ideas:
- Send an Email to Subscribers: Update your mailing list about the new site and any added features or improvements.
- Post on Social Media: Share the news on your social media channels with screenshots or a brief tour of what’s new.
- Highlight New Features: If your WordPress site has exciting new functionality, like a blog or store, make sure to showcase that in your announcement.
Before you officially launch, take a final pass through your website to check for any last-minute adjustments. This is also a great time to set up automatic backups with a plugin like UpdraftPlus to protect your work as you move forward.
Conclusion
Migrating from Wix to WordPress might have felt challenging, but you have gained a flexible, professional platform that’s equipped to handle whatever your website needs—whether that’s an expanding blog, a growing business, or a creative portfolio. Congratulations on completing this big transition, and welcome to the WordPress community!
Trust cmsMinds to handle your Wix-to-WordPress migration, optimizing your site for performance, design, and search engines.

