Reviews on

At cmsMinds, we’ve worked with several nonprofits that came to us with one simple goal which is to create a website that truly reflects their mission without breaking their budget.
Coming to WordPress, it certainly makes that possible.
WordPress is flexible, easy to manage, and packed with a ton of tools that even small teams (Especially the ones with low to no technical knowledge) can use to build something professional and meaningful.
In this guide, we’ll walk you through how to build a nonprofit website on WordPress, step by step. It doesn’t matter whether you’re starting fresh or looking to give your existing site a fresh start, cause we’ll cover everything, from choosing the right theme to setting up donation forms and optimising your site for search engines.
- WordPress makes it pretty easy for any nonprofit organization to build a website that looks professional without spending too much money.
- Start with the basics — a clear mission, a simple domain name, and a reliable web hosting provider that keeps your site running smoothly.
- Inside the WordPress dashboard, you can pick from free or custom themes, add pages, and set up your site just the way you want it.
- Use tools like a donation plugin, event calendar, and blog to keep your nonprofit site active and give visitors a reason to come back.
- With the right keywords, fresh content, and a user-friendly layout, your site will show up more often in search engines and reach the people who care about your cause.
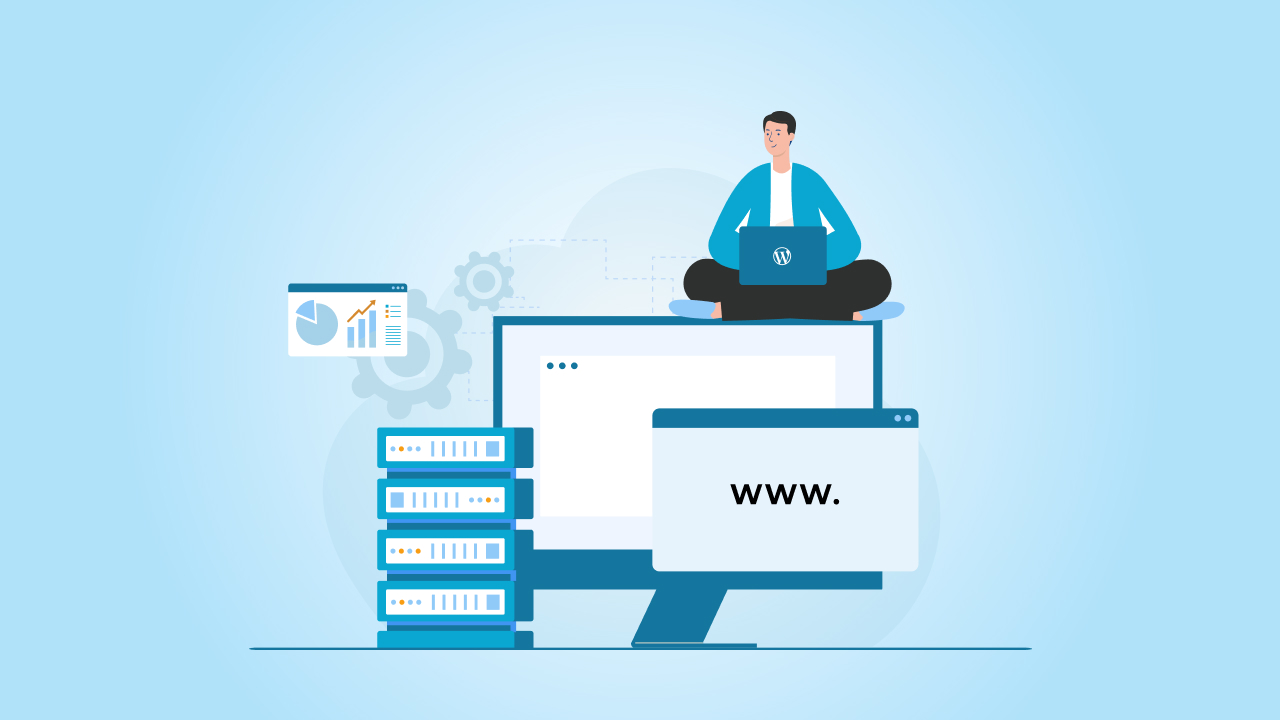
Getting Started with Your Nonprofit Website
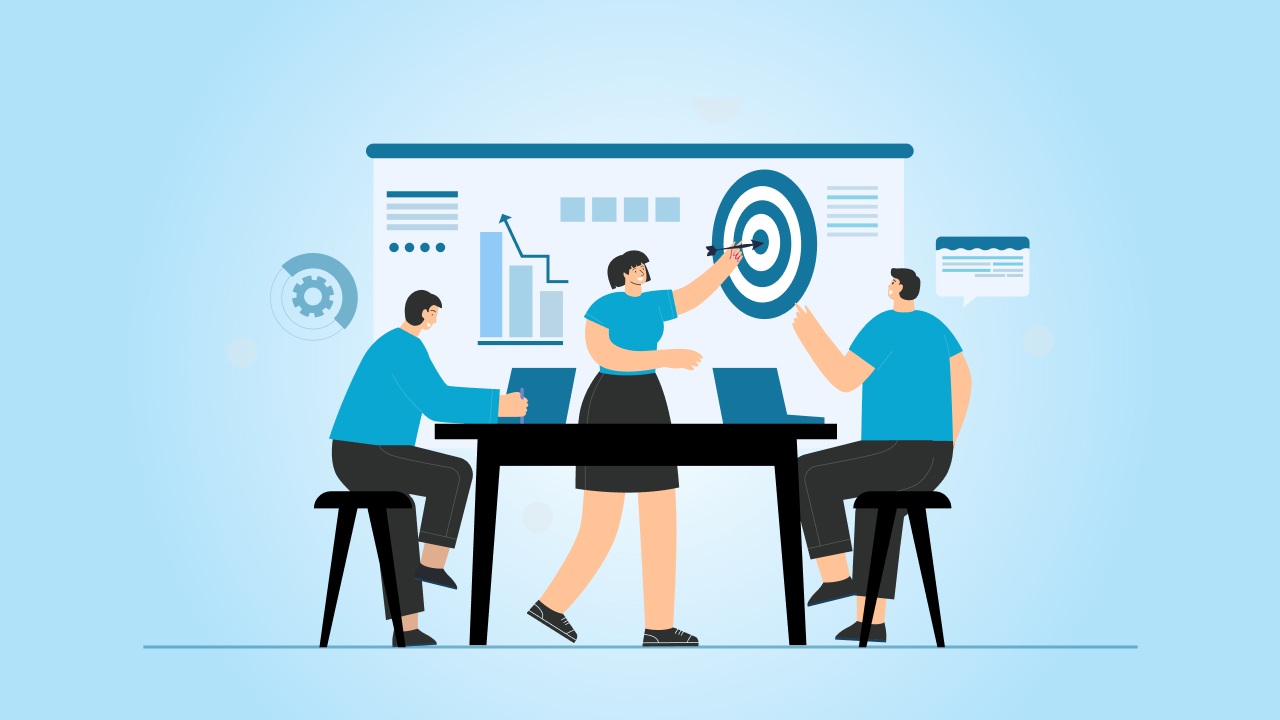
Before you begin designing or thinking about what plugins to install, it’s important to have a clear plan. A strong foundation helps your website reflect not just what your organization does, but why it matters. The best nonprofit websites are built around purpose, not just visuals or technology.
That is why you must understand your mission, audience, and goals before you even touch a line of code or what website builder you are going to use for your website.
Step 1: Define Your Mission, Audience, and Goals
I’ll keep try to keep it simple. Although digitally, your website is your spokesperson.
It should effectively tell your story, share your company values, and make your visitors feel deeply connected to your cause. All of this is important as your website visitors should understand what you’re doing and why you’re doing.
From supporting local education and environmental projects to community health, whatever your cause is, your mission should reflect that in every nook and corner of the website.
Maybe, you can start by asking a few important questions:
Start by asking a few key questions:
- What message do you want people to remember after visiting your site?
- Who are you trying to reach — donors, volunteers, or both?
- What action do you want them to take — donate, sign up, or spread the word?
Once you’ get a clear picture on that, it becomes much easier to plan your website’s structure.
Most nonprofits include pages like:
- Home – A quick overview of your mission and the impact you create.
- About – Your story, values, and team members.
- Programs or Initiatives – The causes you support and how people can get involved.
- Donate – A simple, secure page that makes giving easy.
- Events or Blog – A space to share upcoming events, stories, or updates.
- Contact – Easy ways for people to connect with you.
After being in the industry for more than a decade, we’ve noticed that nonprofits with a clear purpose often find the rest of the process easier. From design to content creation, every choice becomes more intentional when you know exactly what you want your site to achieve.
So before diving into the technical side of the website development, just take a little time to write down your goals and map out your story.
We’ll help you create a WordPress site that’s easy to manage, built for results, and tailored to your nonprofit’s goals.
Step 2: Choose Your Domain Name and Web Hosting
Now that you have a clear agenda about what your website is going to say, it’s time to give it a nice place to live. This step involves the domain name and hosting.
Your domain name is simply your website’s address on the internet. It’s what people will type when they want to find you. Try to keep it short, simple, and close to your organization’s actual name. Avoid adding random words or numbers if you can.
If the exact name you want isn’t available, adding something like “trust” or “foundation” to the name as it still keeps the name professional. And since you’re a nonprofit, using a .org domain instantly tells visitors what kind of organization you are.
Next is web hosting, which is where your website files stay.
There are a lot of hosting companies that even offer discounts or free plans for nonprofits, so it’s definitely worth checking those options before you buy.
If you’re planning to use WordPress, make sure you pick a host that’s WordPress-friendly. That means easy installation, automatic updates, and good support if something goes wrong. It saves you from a lot of technical headaches later.
One small but important thing: register your domain and hosting in your organization’s name, not under any one person. It keeps things simple if roles change in the future.
Step 3: Install WordPress and Configure the Basics
Most hosting providers have a one-click WordPress installation option. The one great advantage of this one-click installation is that it saves you from dealing with any technical setup.
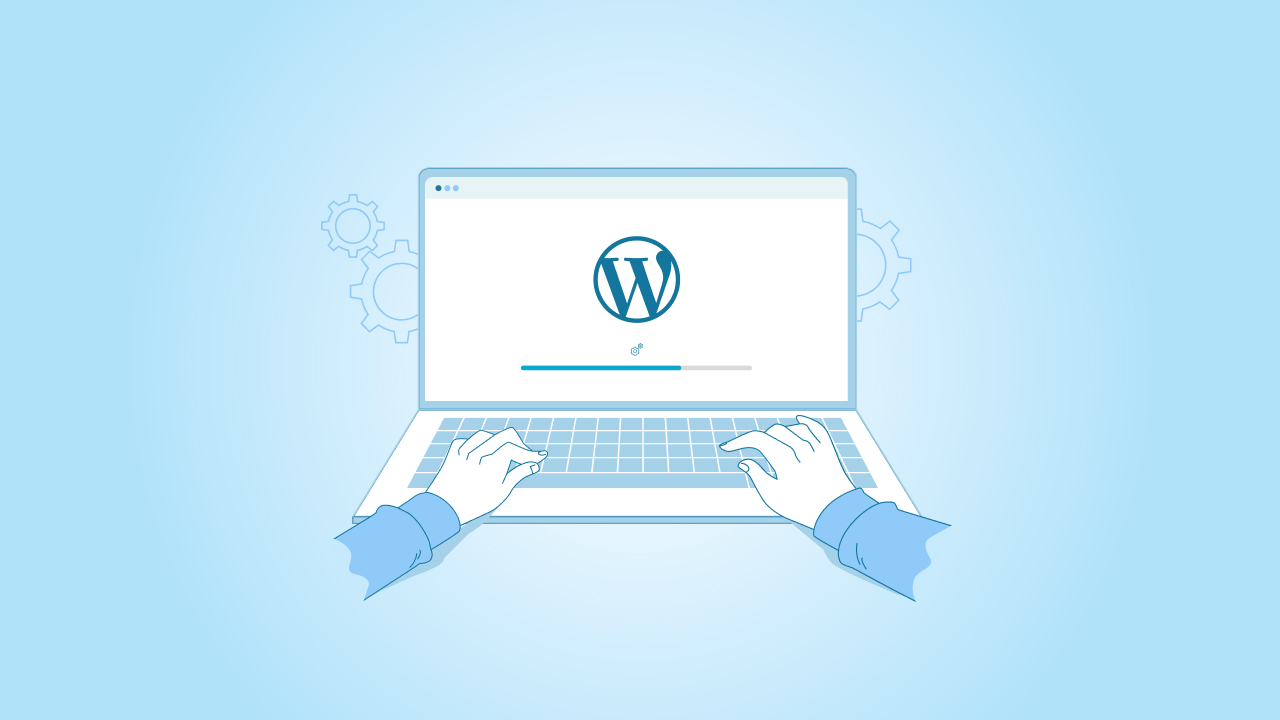
All you have to do is just follow the prompts, and you’ll have a blank website waiting for you.
Once WordPress is installed, log in to your WordPress dashboard. This is where everything happens, from adding pages and posts to changing your design and installing plugins.
WordPress is built to be beginner-friendly, even if you’ve never managed a website before. So it’s pretty easy to manage your dashboard.
Start by doing a few basic settings:
- Site title and tagline – Set these under “Settings > General.” Use your organization’s name and a short description of what you do.
- Permalinks – Go to “Settings > Permalinks” and choose the “Post name” option. It keeps your URLs clean and easy to read.
- User roles – If multiple people will manage the site, create separate logins. For example, give your content team “Editor” access and board members “Subscriber” access if needed.
- Basic plugins – Add essentials like a backup tool, a security plugin, and an SEO plugin. You don’t need to install everything right now, just the basics to keep things running smoothly.
Just a tip: At this stage, don’t worry about design or content yet. This step is about getting your foundation in place. Once your WordPress dashboard is set up properly, you’ll have a clean and secure starting point to build on.
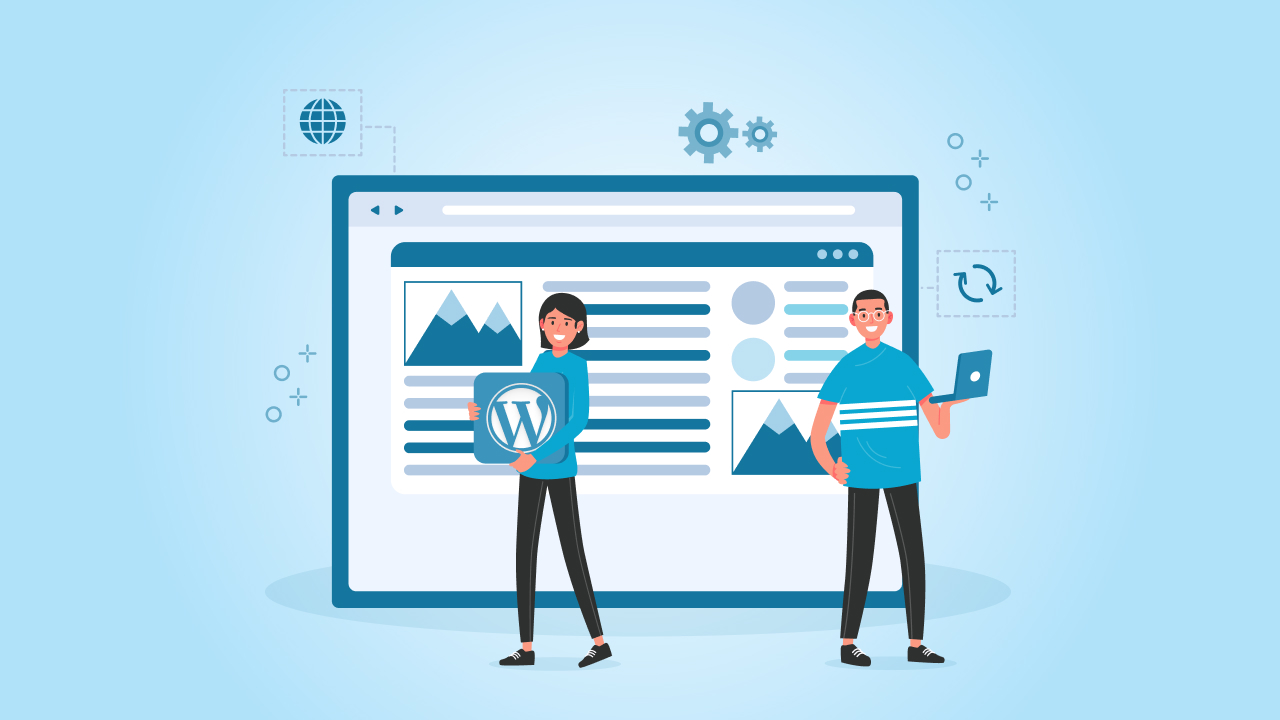
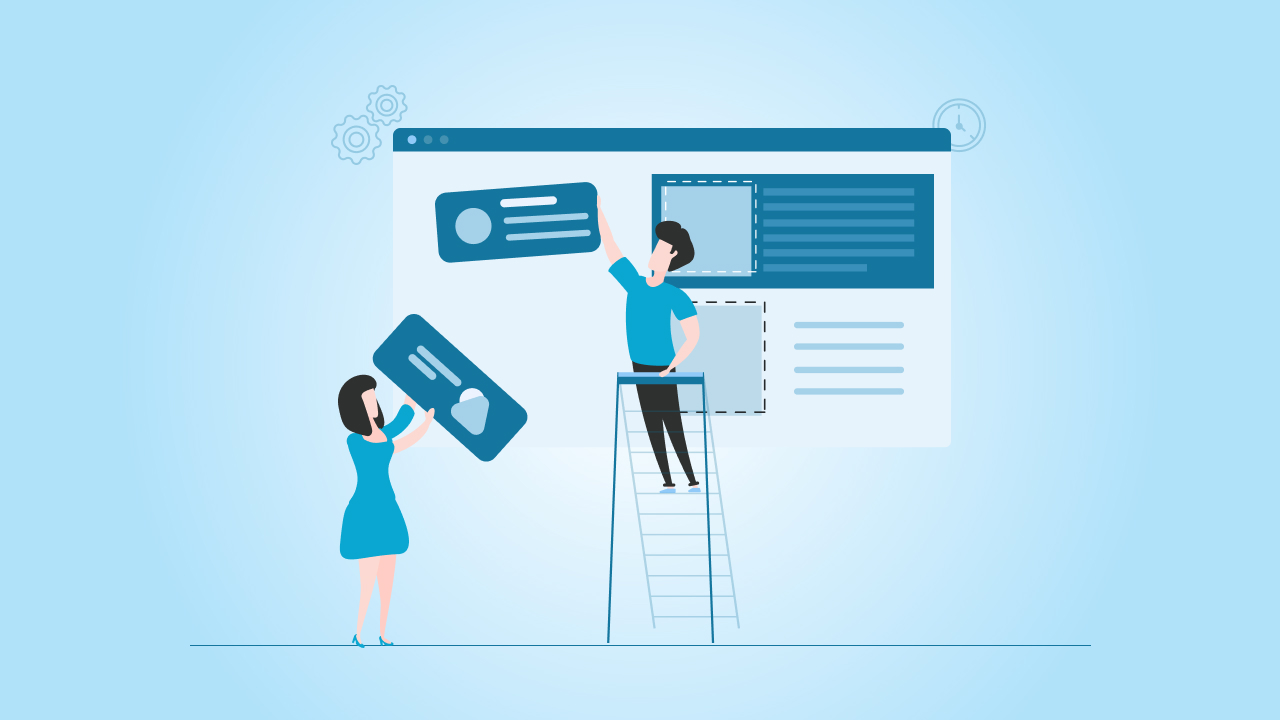
Step 4: Choose a WordPress Theme for Your Nonprofit
How your organization’s website looks and feels will depend a lot on the WordPress theme you choose. Now, WordPress has plenty of themes to choose from, both premium and free and many of them are made specifically for nonprofits.
So you can browse and find the one that truly fits your organization’s mission and makes it super simple for your clients to learn about your work.
Here are a few things you should consider when picking a theme for your website:
- Go for a clean layout that focuses on your message, not on fancy effects.
- Most visitors will use their phones, so your site should look good on smaller screens too.
- Many nonprofit themes come ready with donation forms or work smoothly with plugins like GiveWP or Charitable.
- If you run community events, having a built-in event calendar can be useful.
- Choose a theme that’s coded well and helps your pages show up in search results.
In case you have budget issues, you always start with a free theme. There are so many wonderful options which let you customize the theme to a certain extent.
Let’s say you have a decent budget allocated, then you can work with a WordPress developer who can help you fine-tune things, match your organization’s branding without making things complicated.
And, once you’ve picked your theme, install it through your WordPress dashboard and explore the settings. Add your logo, choose your colours, and start setting up your main pages.
Step 5: Add Essential Features and Functionality
Now that you chose what theme you’d like to have for your website, it’s time to add the features that truly bring your website to life.
Although the theme is the design of the website, features and functionality are the things that keep your visitors engaged and encourage them to take action.
You can start with the essentials that help your nonprofit connect with people, collect donations, and easily share your story across.
1. Donation Forms
If your organization accepts online donations, you should consider this one feature in that case. Plugins like GiveWP and Charitable make it super easy to add donation forms without any coding.
What you can do is you can just let your donors choose between one-time or recurring gifts, set a suggested amount, and track those contributions.
Remember to keep your form short and easy to complete.
2. Events and Calendar
Fundraisers, workshops, or awareness campaigns are your deal? Fantastic! You should have an events calendar in place to keep everyone informed.
Now, the Events Calendar plugin will let you effortlessly display upcoming events and even collect RSVPs or registrations right on your website.
3. Blog or News Section
Through a blog or news section, you can keep your audience updated and engaged as to what’s happening in your organization. Plus, you can use it to share success stories, updates, and behind-the-scenes moments.
Just one thoughtful story every now and then can help people feel more connected and related to your cause.
4. Volunteer or Contact Forms
At all costs, make it easy for your audiences to reach you or even sign up to help. You can use form plugins like WPForms or Ninja Forms to create pretty simple contact or volunteer sign-up forms in just minutes.
5. Social Media Integration
Link your social media accounts to your website so your visitors can easily stay updated on your activities. Many WordPress themes include social icons or built-in options to display live feeds from platforms like Facebook or Instagram.
6. Security and Backups
Before you go live, add a few must-have plugins that keep your site safe. A security plugin like Wordfence helps prevent attacks, and a backup plugin like UpdraftPlus protects your data if something ever goes wrong.
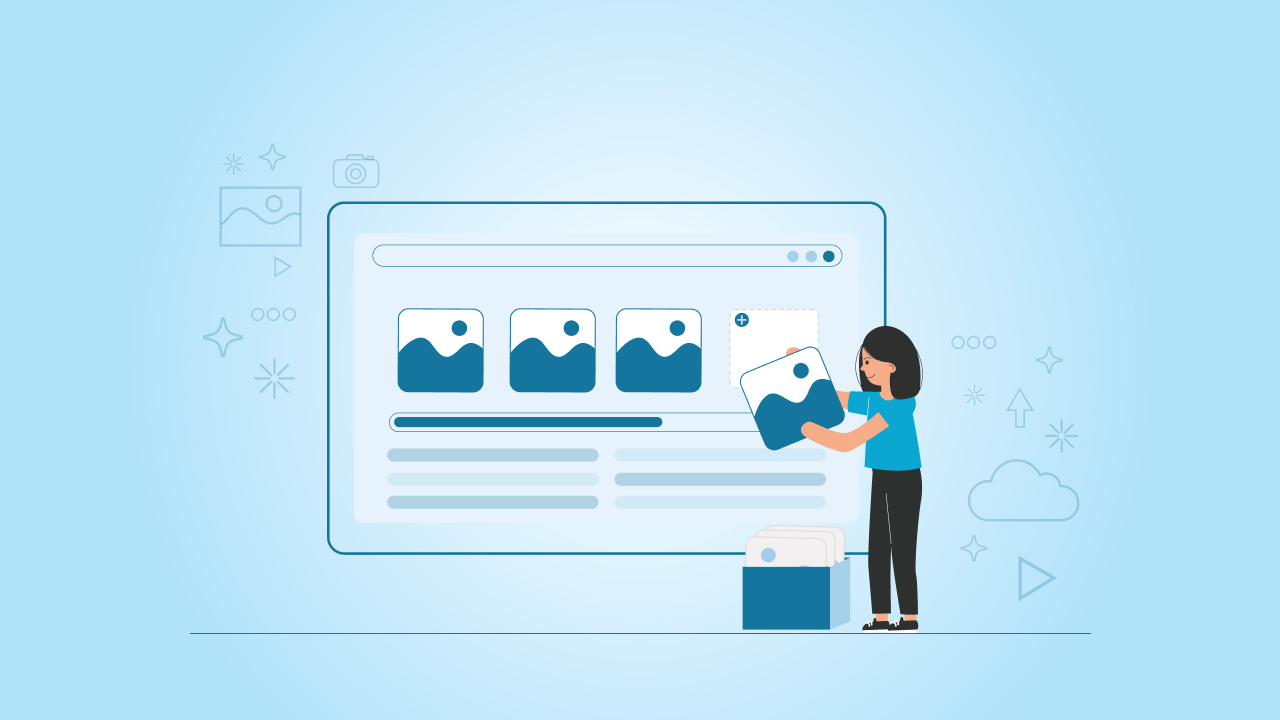
Step 6: Create Engaging Content and Structure for SEO
Now that your website has all the right features it needs, it’s time to fill it with some amazing content that tells your story and helps people find you online.

Coming to content, it doesn’t have to be lengthy and long paragraphs or some fancy words. It’s about being clear, genuine, and purposeful. So when people your website, they should instantly understand who you are, what you do, and how they can help.
Start with your core pages:
- Homepage: Keep it simple. Share your mission, a short summary of your work, and a clear call to action like “Donate Now” or “Join Us.”
- About Us: Talk about your story, your team, and why your organization exists. This is where you build trust.
- Programs or Causes: Explain the issues you work on and show real examples of your impact.
- Donate: Make this page easy to use, secure, and visually clear. The fewer steps, the better.
- Blog or News: Post updates, success stories, and event recaps. Regular updates show that your nonprofit is active and transparent.
While you’re at it, make sure to keep SEO (Search Engine Optimization) in mind so your website effortlessly shows up in search results.
Here’s a small list of things that can make a difference:
- Use keywords related to your industry and organization in the titles and content throughout. For instance, terms like nonprofit website or the cause you work can help search engines understand your pages.
- Add meta titles and descriptions using an SEO plugin like Yoast or Rank Math.
- Include internal links between your pages, like linking your “About” page to your “Donate” page.
- Optimize your images by compressing them and adding descriptive alt text.
- Keep your site organized with a clear navigation menu and a visible search bar.
Just a tip, if writing isn’t your strong suit, start small. Maybe you can add short sections of your cause and share real stories, not just random slogans. People connect more with honesty than perfection.
Step 7: Launch, Promote, and Maintain Your Site
You have your theme, content, SEO, and everything in place. Now comes the last step, going live.

Of course, there are a few things to check before you hit that publish button. Double-check everything. Go through all your pages and make sure links to your donation form, etc., work and your website looks good both on mobile and desktop.
If it’s possible, ask a few people who haven’t seen the website yet to browse the site and share honest feedback. You never know, a fresh set of eyes always helps.
Once you’re confident everything is in place, it’s time to share your website with your audiences. Start with your current supporters, people who know you exist. Send out an email announcement, post about the website launch on your social media pages, and share it during events or meetings. Tell people why this website and how it helps your cause and mission.
Make your website live is one thing but maintaining it altogether another. A website such as yours (nonprofit) is a very much living part of your organization.
So you have to keep it updated with new stories, photos, news, and events. Regular updates show your visitors not only how much you care about the cause, but also that you’re very active and trustworthy.
Further, to track how your website is doing, you can simply use Google Analytics or Google Search Console. You can see how many people visit your website, what pages they spend time on, and which calls to action work best. By using such tools, you’ll know what works and what doesn’t.
To track how your site is doing, connect it with Google Analytics or Google Search Console. You’ll be able to see how many people visit, what pages they spend time on, and which calls to action work best. These insights help you improve over time.
Finally, make sure you keep your new website healthy. Update plugins and themes regularly, back up your data, and check for any security alerts. All it takes is a couple of minutes a month to ensure everything’s running smoothly.
Conclusion
Building a nonprofit WordPress website isn’t about having the most sophisticated tools or even the fanciest design. It’s about creating an online space that tells your nonprofit’s cause and story that help people understand your mission and encourages them to take action.
Given the WordPress advantage, you don’t need to be a developer or need one to create a decent website. Its user-friendly interface and drag-and-drop website builder make it super easy to organize your pages, design custom themes, and share your story in your own voice.
All you have to do is add a few strong and effective calls to action buttons like “Donate Now” or “Volunteer Today.” If people connect and relate with your cause, they will definitely come forward.
At cmsMinds, as a WordPress Agency we’ve seen how the right WordPress website can actually help nonprofits grow their reach and strengthen their impact. So whether you’re setting up your first nonprofit website or enhancing a current one, we can help you build a secure, SEO-friendly, and super simple to manage website that perfectly reflects your values.
Your cause deserves to be seen, heard, and supported. Let’s make sure your website helps you do exactly that.
Turn your nonprofit’s mission into a meaningful online experience with a site that’s secure, easy to manage, and built to grow with you.