Reviews on

Webflow’s great when you’re just getting started, with clean designs, an easy drag-and-drop interface, and no need to deal with code. But as your site grows, you might start to feel boxed in. Maybe you want more control, more plugin options, or a better way to manage content long-term.
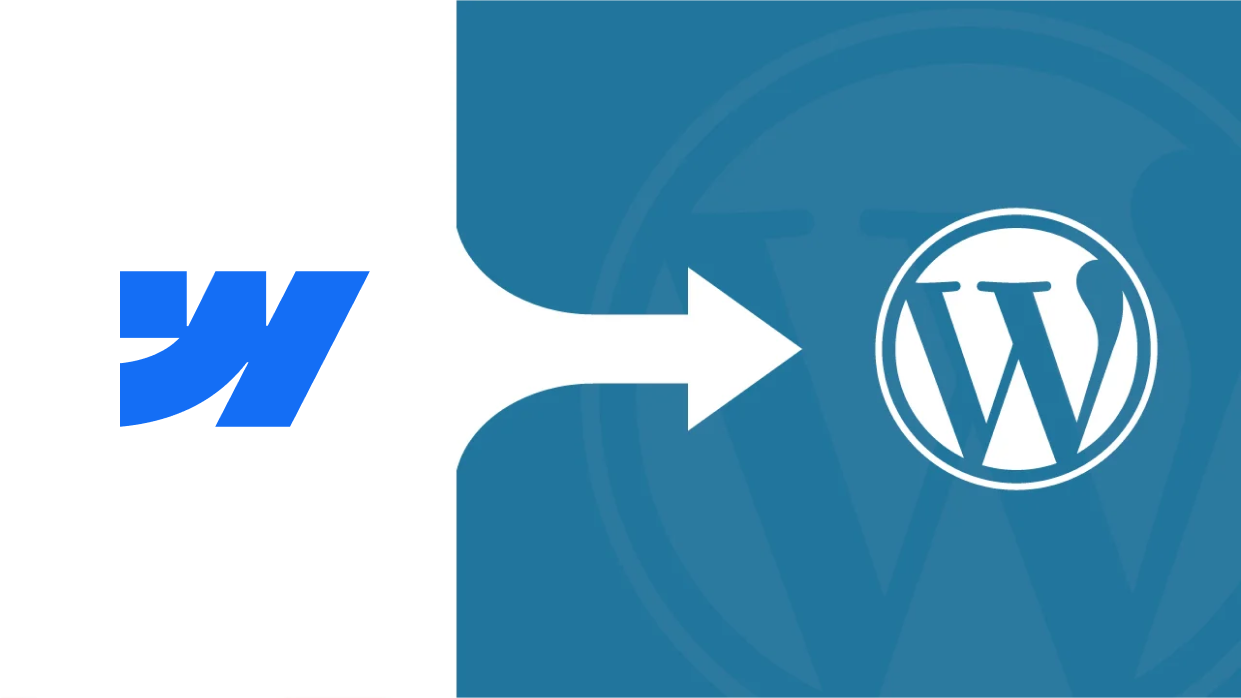
That’s usually when people start thinking about switching from Webflow to WordPress.
At cmsMinds, we’ve helped many clients move their Webflow websites to WordPress sites so they can take full advantage of features like custom development, SEO tools, and a huge library of WordPress plugins. It’s not just about flexibility—it’s also about owning your content and being able to scale your website without limits.
This guide will walk you through how to migrate your Webflow site to a WordPress website in five simple steps.We’ll keep things simple and skip the technical jargon wherever possible, so you can follow along easily even if you’re not a developer.
- The WordPress migration process involves planning your content structure, setting up hosting, and rebuilding your site using WordPress tools and plugins.
- While Webflow doesn’t offer a direct export of everything, you can access Webflow content (like CMS collections) through CSV exports—no Webflow API key required for basic migrations.
- A solid import process using tools like WP All Import helps transfer CMS data into WordPress without manually recreating every post.
- WordPress is a more flexible and scalable blogging platform, ideal if you’re planning to grow your site with frequent content updates or custom post types.
- Once your content is moved and your theme is in place, you’ll have full control over your new site, ready to grow beyond Webflow’s limitations.
Why Migrate from Webflow to WordPress?
Webflow is a great tool, especially for building clean, responsive websites without touching code. But if you’ve hit a point where you need more control, more features, or just more room to grow, moving to WordPress might be a better option.
Here’s why a lot of folks make the switch:
1. WordPress gives you more freedom
With Webflow, you’re working inside a closed system. It’s polished, but there are limits, especially when it comes to flexibility. WordPress is open-source, which means you can do just about anything with it. Add new features, tweak layouts, build custom sections—whatever your site needs, there’s likely a WP plugin for it.
2. More functionality without third-party workarounds
Webflow keeps things simple, but sometimes that means using external tools for even basic features. With WordPress, most things you need, like SEO tools, forms, image sliders, and backups, can be handled with the right WP plugins. There’s a plugin for nearly everything, and many are free or very affordable.
3. Better long-term control and ownership
When you move to a WordPress site, you’re no longer locked into one platform. You choose your own hosting service provider, control your domain, and fully own your content. You can export, back up, move things around—whatever you want. Webflow doesn’t give you that same level of control, especially when it comes to CMS collections or dynamic content.
4. Lower costs over time
Webflow can get pricey, especially if you’re running multiple Webflow websites or using the CMS. WordPress has its costs too like hosting, a theme, and a few premium plugins but overall, it tends to be more affordable long-term. And you’re not paying extra just to add new web pages or connect a custom domain.
5. Built for content-heavy sites
If you’re blogging often or managing a lot of posts, WordPress is built for that. It handles categories, tags, authors, archives, and more right out of the box. You can even move your old Webflow blog posts into WordPress using a CSV file and a good import plugin. Once they’re in, you’ll have way more tools to work with.
At cmsMinds, we’ve helped businesses of all sizes make the switch smoothly, with clean code, better performance, and zero data loss.
How to Migrate from Webflow to WordPress in 5 Simple Steps
If you’ve never migrated from one site to another, then let me tell you, switching platforms can honestly feel a little messy. But once you know what needs to be moved and how to set things up in WordPress, it’s really just a matter of taking it one step at a time.
Step 1: Prepare for the Move
Start by getting a clear picture of what’s on your Webflow site. Go through each section—pages, blog posts, media, forms, and any CMS collections and make a list of what needs to come over to WordPress.
Not everything has to make the move. This is a good time to clean things up. Remove outdated pages or anything that no longer fits your site’s goals. The simpler and more focused your content is, the easier the migration will be.
It also helps to think about how you want your new WordPress website to function. Planning to keep the same layout? Thinking about new features? Many things that were hard to do in Webflow can be handled easily with the right WordPress plugins or a flexible WordPress theme.
You’ll also need a reliable hosting provider for WordPress. Most offer quick setup tools, and many have built-in support for WordPress websites, which can save you a lot of time once you start building.
Step 2: Set Up Your WordPress Environment
Now that you know what you’re bringing over, it’s time to get WordPress ready to handle it.
You can get started by setting up your WordPress site. If you’ve already picked a hosting provider, log into your account and install WordPress. Most hosts offer a one-click install, so it’s quick and doesn’t require any technical setup.
Once WordPress is installed, head into the WordPress dashboard. This is where you’ll manage everything—your pages, posts, media, plugins, and settings. It might feel a bit unfamiliar at first, especially if you’re used to Webflow’s visual interface, but it won’t take long to get the hang of it.
Next, choose a WordPress theme. You can go with something simple to start, or browse themes that match the structure of your old Webflow site. If you want more control over layout and design, consider using a WordPress page builder plugin like Elementor or WPBakery. These give you a drag and drop interface that feels more like what you’re used to in Webflow.
Now is also a good time to install a few basic WordPress plugins—things like SEO tools, form builders, or a caching plugin to help your site load faster. You don’t need to install a bunch right away—just the essentials to get started.
Step 3: Export Content from Webflow to WordPress Site
If your site uses Webflow’s CMS (for blog posts, for example), you can export that content as a CSV file. Just go into the CMS Collections section, choose the one you want, and hit the export button. That file will come in handy when it’s time to import everything into WordPress.
Static content like your home page, about page, or services doesn’t export the same way. So you’ll need to copy the text manually and save any images or media you want to reuse. It’s not ideal, but this step also gives you a chance to improve or update the content as you move it over.
If you used any custom layouts, forms, or animations, jot those down too. You’ll probably want to rebuild them using a WordPress plugin or a page builder, since the raw Webflow code won’t carry over cleanly.
Step 4: Import Content into WordPress
Now that you’ve got your content out of Webflow, you can bring it into WordPress and start rebuilding your website.
If you exported a CSV file from Webflow’s CMS, you’ll need an import plugin to upload it into WordPress. An import plugin like WP All Import works well as it lets you map each column from your CSV (like title, content, date) to the right fields in WordPress. It’s flexible and can handle blog posts, products, or other types of content.
For static pages, you’ll need to recreate them manually. Head into your WordPress dashboard, create a new page, and start adding your text and images. If you’re using a drag and drop interface like Elementor, this part will feel familiar and pretty intuitive. You don’t have to match everything exactly, you can choose to clean up the layout as per your requirements or improve the structure if needed.
As for media, go to your media library and upload all your images and files. Unfortunately, there’s no auto-upload images option when copying over posts, so it’s best to add them manually to make sure everything’s working properly.
This step takes a little time, but once you’ve got your core content in place, your new WordPress site will start to take shape, and you’re almost there.
Step 5: Final Touches & Launch
Once your content is in and your webpages are set up, it’s time to fine-tune everything and get your WordPress site ready to go live.
Start by checking each page. Make sure images show up, links work, and formatting looks clean. If you used a WordPress plugin for forms, test those too. Submit a test entry and make sure it lands in your inbox.
Next, set your WordPress permalinks (that’s just the structure of your URLs). Go to Settings > Permalinks in the WordPress dashboard and choose a format that matches your old Webflow URLs, if possible. This helps avoid broken links and keeps your SEO intact.
Now’s also the time to install any remaining WordPress plugins you need—maybe one for caching, SEO, backups, or security. Keep your plugin list clean: only use what you need, and always update regularly.
If you’re moving a custom domain over from Webflow, go to your domain registrar and update the DNS settings to point to your new hosting provider. Once the changes go through, your new WordPress website will be live.
After launch, keep an eye on the site for a few days. Check Google Search Console, make sure pages are indexing, and monitor traffic. You might need to tweak a few things here and there, but for the most part, you’re done.
Webflow to WordPress: One Move, a Lot More Possibilities
Migrating from Webflow to WordPress isn’t something you do every day, but it’s also not as overwhelming as it might seem at first. Once you break it down into clear steps, the process becomes a lot more manageable.
Whether you’re moving for more flexibility, lower long-term costs, or just to take full control of your website, WordPress gives you the tools to grow without limits. With the right WordPress migration plugins, a solid theme, and a good hosting setup, you can build something that works for the long haul.
If you’re thinking about making the switch or are already in the middle of it and want some expert help, the team of WordPress migration at cmsMinds is here. We’ve done plenty of these migrations and can help make yours smooth, clean, and headache-free.
Not sure where to start? We’ll take a quick look at your current site and show you what your WordPress migration could look like—no pressure, no hard sell.