Reviews on

At cmsMinds, we’ve helped plenty of big and small businesses get started with WordPress. And one thing we hear all the time is:
“I want to build a WordPress website, but I don’t even know where to start.”
Does this sound like you?
Here’s the good news: creating a WordPress site doesn’t have to be rocket science. You don’t need to be a developer, and you definitely don’t need to spend weeks figuring it all out.
We’ve broken it down into 8 simple, doable steps. Whether you’re launching your first site or starting fresh with a new idea, this guide is here to walk you through it, the same way we guide our clients every day.
Let’s get your site off the ground — one step at a time.
⏰ 60-Second Summary
- Follow 8 Simple Steps: From buying a domain and hosting to installing WordPress, picking a theme, and adding essential plugins, the process is streamlined and beginner-friendly — no coding needed.
- Design and Build Your Site: Select a theme that fits your style, create key pages like Home, About, and Contact, and use plugins to add features like SEO, forms, and security.
- Fine-Tune Settings: Customize site details like the title, permalink structure, and menus. Check everything on mobile, test forms, and connect analytics before launch.
- Go Live and Grow: Once launched, share your site, track performance, and keep improving. Your site is your platform — start simple and scale as you learn.
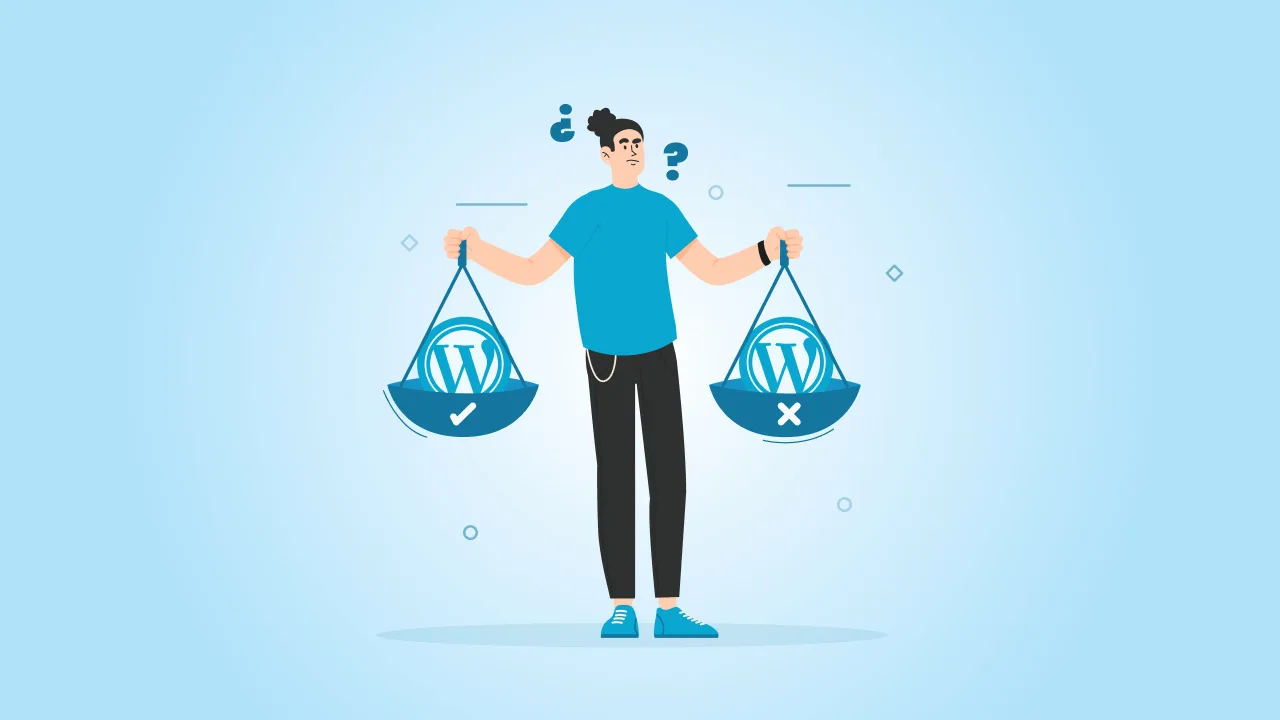
WordPress.org vs. WordPress.com: What You Need to Know Before You Start
Before we dive into the process of building a WordPress site, there’s one important thing to clear up, and it’s a common point of confusion, especially for first-time WordPress users.
There are actually two versions of WordPress:
WordPress.com and WordPress.org — and they work very differently.
Here’s a quick breakdown:
- WordPress.com is a hosted platform. You can build a basic WordPress website here with just a few clicks, and there’s even a free version. But you’ll have limited control over your website files, plugins, themes, and overall design unless you pay for a premium plan. It’s more of a website builder experience — great for simple projects, not ideal for growth.
- WordPress.org is self-hosted, which means you’ll need a web hosting provider and your own domain name. The best part? You’ll have full access to the dashboard, thousands of free themes and premium WordPress themes, WordPress plugins, and total control over everything from design to search engine optimization (SEO). This is the version most businesses, bloggers, and serious creators use.
If you’re planning to build a business website, blog, or even an online store, WordPress.org is the way to go. It’s more flexible, scalable, and works with most hosting services.
And that’s what this step-by-step guide will focus on: setting up a new WordPress website using WordPress.org.
Whether you’re stuck on setup or ready to scale, the WordPress experts at cmsMinds are here to help. Let’s Talk
How to Build a WordPress Website in 8 Steps
Step 1: Choose a Domain Name and Web Hosting Provider
Every WordPress website starts with two basic things: a domain name and a WordPress hosting provider.
Think of your domain name as your site’s address — it’s what people type into their browser to find you (like yourwebsite.com). Ideally, it should be short, easy to remember, and clearly connected to your brand or content.
Now onto web hosting — this is where your website files live. You’ll need a hosting account to store everything your site needs to run: images, content, themes, plugins, and more. Without hosting, your site won’t exist online.
There are a lot of hosting options out there, but here are a few that are great for WordPress websites:
- WordPress.com (paid plans) – includes hosting and offers a simple, all-in-one solution for running your store.
- Pressable – a managed WordPress host built by the team behind WordPress.com
- Bluehost – beginner-friendly and officially recommended by WordPress.org
- SiteGround – known for fast performance and helpful support
When choosing a host, look for features like:
- One-click WordPress installation
- A free domain name for the first year
- Solid customer support
- Scalable hosting plans as your site grows
If you want less hassle with updates, backups, and security, managed WordPress hosts like Pressable are worth considering, especially for business sites or more complex websites.
Once you’ve signed up for a hosting plan and claimed your domain, you’ll be ready to move on to the next step: installing WordPress and setting up your first WordPress website.
Step 2: Install WordPress
Now that you’ve got your domain name and web hosting provider sorted, it’s time to bring your website to life by installing WordPress.
Most WordPress hosting services make this incredibly simple. In fact, many offer one-click WordPress installation, which means you don’t have to deal with downloading files, uploading via FTP, or any of the technical stuff.
Here’s how it usually works:
- Log into your hosting account (you’ll get login details via email after signing up).
- Head to the control panel (often called cPanel or a custom dashboard).
- Look for something like “Install WordPress,” “WordPress Tools,” or “Website Installer.”
- Click it, follow the prompts, and fill in a few basic details like:
- Your site title
- Your administrator email address
- A username and password (don’t leave the default username as “admin” for security reasons)
Once you hit “Install,” the system will set up your WordPress software in just a few minutes.
After installation, you’ll get a login link to your WP dashboard — usually something like yourdomain.com/wp-admin. Bookmark it, this is where you’ll manage your entire site from now on.
If your host doesn’t offer one-click install, you can still install WordPress manually by uploading the files from WordPress.org and setting up a database, but honestly, most modern hosts handle it for you.
And that’s it! With WordPress installed, you’re officially on your way. Next, we’ll explore the WordPress dashboard and show you how to navigate it like a pro.
Step 3: Get to Know the WordPress Dashboard
Once WordPress is installed, your site is technically live. But there’s not much to look at yet. You’ll be taken to your WordPress dashboard, which is basically mission control for your website.
At first, it might feel a bit overwhelming. There are a bunch of menu items on the left, some boxes in the middle, and a few alerts trying to get your attention. That’s totally normal.
You don’t need to figure everything out right away. Just start with the basics.
The left-hand menu is where you’ll spend most of your time. Want to write a blog post? That’s under “Posts.” Need to create an About page? Go to “Pages.” You’ll also find sections for customizing your site, adding plugins, changing your theme, managing users, and adjusting general settings, like your site title or the administrator email address.
As you click around, you’ll start to get the hang of it. The best way to learn is to use it — no tutorials required. It’s pretty hard to mess anything up. If something doesn’t look right, you can always tweak it later.
This is your space now. Whether you’re building a blog, a business site, or an online store, everything starts from this dashboard.
Take a breath, take a look around, and when you’re ready, we’ll move on to the fun part- picking your WordPress theme.
Step 4: Choose and Install a WordPress Theme
Now it’s time to make your site look like you or your brand, your business, your style. That’s where WordPress themes come in.
A theme controls how your website looks, in terms of layout, fonts, colors, page structure, everything. There are thousands of themes out there, both free and premium, so don’t stress about finding the “perfect” one right away. You can always change it later.
To browse and install a theme, head to your WP dashboard and go to Appearance > Themes > Add New. You’ll land in the official theme library, which includes plenty of well-designed, responsive free WordPress themes.
Want to filter by style, features, or layout? You can. Want something sleek for a business site, or a bold layout for a blog? It’s all there.
If you’ve bought a premium WordPress theme from a marketplace like ThemeForest or from a developer directly, you’ll usually receive a ZIP file. To install it, just go to the same “Add New” section, click Upload Theme, and select the file.
Once installed, click Activate, and your site will instantly take on the new design.
Some themes come with their own setup wizard, demo content, or builder plugin (like Elementor). It’s a good idea to check the theme’s documentation if you’re unsure how to get it looking like the preview.
You don’t have to get every detail perfect right now. Just pick a theme that feels like a good starting point. You’ll have time to customize colors, fonts, and layout later.
Once your theme is in place, you’re ready to start building out the structure of your site, which brings us to plugins.
Step 5: Install Essential Plugins
Themes handle how your site looks. Plugins handle what your site can do.
Think of WordPress plugins (security plugins, chat plugins, backup plugins, payment plugins, etc.) as add-ons or tools that let you add new features to your site — no coding needed. Want to improve your SEO? Add a contact form? Speed up your site? There’s a plugin for all of that (and more).
To install a plugin, go to your dashboard, click on Plugins > Add New, and you’ll see a huge library of free plugins. Just search, click Install, then Activate.
If you’ve downloaded a premium plugin, you’ll upload it manually as a ZIP file, just like you would a theme.
You don’t need dozens of plugins — just a few essentials to get started. Here are some we often recommend:
- Yoast SEO or Rank Math – for better visibility on search engines
- WPForms or Contact Form 7 – to add simple contact forms
- Wordfence Security – adds a layer of site security
- UpdraftPlus – for backups (trust us, you’ll thank yourself later)
- Google Site Kit – connects your site with Google Analytics, Search Console, and more
- WooCommerce – if you’re building an online store
Remember, too many plugins can slow down your site or create conflicts. Stick to the ones you need, and keep them updated.
This is where your WordPress site starts becoming your site, with the tools that fit your goals. Once you’ve got the basics in place, it’s time to build out your content and create the key pages every site needs.
Step 6: Create Essential Pages and Blog Posts
With your theme and plugins in place, it’s time to add the stuff people come to your site for — content. That means creating a few key web pages and maybe even writing your first blog post.
Start with the basics. Almost every new WP website needs a few essential pages:
- Home – A quick snapshot of who you are and what you offer.
- About – Tell your story, your mission, or what sets your business apart.
- Contact – Make it easy for visitors to reach you, often with a simple contact form.
- Services or Products – If applicable, this is where you explain what you do or sell.
- Blog – Optional, but a great way to share updates, insights, or content that helps with search engine optimization.
To create a page, go to your dashboard and click Pages > Add New. WordPress comes with a built-in block editor (also called Gutenberg), which makes it easy to add text, images, buttons, and other elements — no code required.
Want to start a blog? Head to Posts > Add New, and you’re ready to write your first blog post. Once you publish a few posts, you can create a blog page that automatically displays them.
One small but important detail: make sure to assign your homepage and blog page under Settings > Reading. You can either show your latest blog posts on the homepage or set a static page if you want a more custom layout.
💡 cmsMinds Tip: Keep things simple at first. It’s better to launch with 3–5 solid pages than to overthink and delay. You can always add more as your site grows.
Once your core pages are live and your navigation menu is set, you’re almost there. Next, we’ll fine-tune the site settings to make sure everything’s clean, clear, and ready for launch.
Step 7: Customize Your Site Settings
This part might not seem exciting, but it’s important. A few quick tweaks in your WordPress settings can make your site look more professional, run more efficiently, and be easier to manage long-term.
Start in the Settings section of your dashboard — it’s where you control the fundamentals of your site.
Here are a few things to check and update:
- Site Title & Tagline: These appear in the browser tab and sometimes in search engine results. Keep them clear and concise. (Found under Settings > General.)
- Administrator Email Address: Make sure it’s an email you check regularly. This is where WordPress sends updates and notifications.
- Timezone, Language, and Date Format: Set these based on your location and preferences — especially if you plan to schedule posts.
- Homepage Display: Decide if you want your homepage to show your latest blog posts or a static page (this is common for business websites). Go to Settings > Reading to set this.
- Permalink Structure: Choose a clean, SEO-friendly URL format under Settings > Permalinks. We usually recommend “Post name” — it keeps your URLs short and readable.
Don’t forget your navigation menus. Head over to Appearance > Menus to create a menu and add your main pages (like Home, About, Blog, Contact). This helps visitors move around your site easily.
If your theme includes widgets — like a sidebar or footer — you can manage those under Appearance > Widgets. These are great for things like recent posts, social media links, or newsletter signups.
After updating your settings, open your site in a new tab and browse it like a visitor. Does everything make sense? Can you find key pages easily? A fresh pair of eyes (even your own) can catch things you missed while building.
Next up: launch time. You’ve done the heavy lifting — now it’s time to push your site live and start sharing it with the world.
Step 8: Launch Your Site and Share It with the World
You’ve got your domain, hosting, theme, plugins, and content all set up. Now it’s time to go live and start getting visitors.
If your site’s been on a “Coming Soon” or maintenance mode (some themes or plugins enable this by default), you can disable it and make your site publicly visible. Your own domain name is now pointing to your new WordPress site — it’s ready to be explored.
Before you start promoting it, do a quick pre-launch checklist:
- Test your site on mobile and desktop — make sure everything looks good and loads quickly.
- Check your contact forms — do messages go to your email? Fill one out yourself to be sure.
- Proofread your content and double-check your navigation.
- Set up Google Analytics (via the Site Kit plugin or manually) to track your website traffic.
- Connect your social media accounts — even if you’re not ready to promote, it’s good to have the links in place.
- Submit your site to Google Search Console so it starts showing up in search engine results.
You don’t need a full-blown launch campaign. Just start by sharing your site with friends, colleagues, or existing customers. If you’ve got a blog page, start publishing content regularly — it’s one of the best ways to drive organic traffic over time.
A website is never really “finished.” You’ll keep refining, improving, and learning as you go — and that’s a good thing. What matters is that you start.
That’s it — your first WordPress website is live. You’ve just built something real, and that’s a big deal. Whether you’re running a business, building a personal brand, or sharing something you care about, your site is your platform now.
Conclusion
That’s it. You’ve got your domain, hosting, WordPress installed, theme set, plugins added, and your first pages ready.
Your site’s built. Now it’s time to put it out there.
You don’t need everything to be perfect. The important thing is to get it out there. You can always update and improve it as you go.
And if you run into something you’re not sure how to handle, the team of WordPress Website design at cmsMinds is here to help.
Our team can design, build, and launch a custom WordPress site that fits your brand and goals, without the guesswork.